프로젝트 생성
kyuhyuk.kr/article/spring-boot/2020/07/19/Create-Spring-Project
[Spring Boot] 프로젝트 생성
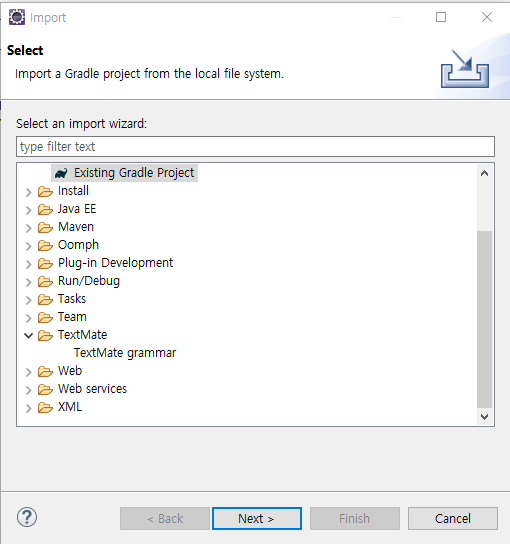
Spring Initializr에 접속하여 아래와 같이 선택하고, ‘Generate’를 클릭합니다.
kyuhyuk.kr
spring.io/guides/gs/rest-service/
Building a RESTful Web Service
this guide is designed to get you productive as quickly as possible and using the latest Spring project releases and techniques as recommended by the Spring team
spring.io
위에 참고
start.spring.io/ 여기 들어가서

전통의 HelloWorld
package com.example.demo;

import org.springframework.boot.SpringApplication;
import org.springframework.boot.autoconfigure.SpringBootApplication;
import org.springframework.web.bind.annotation.RequestMapping;
import org.springframework.web.bind.annotation.RequestMethod;
import org.springframework.web.bind.annotation.RestController;

@RestController
@SpringBootApplication
public class DemoApplication {

	public static void main(String[] args) {
		SpringApplication.run(DemoApplication.class, args);
	}

	@RequestMapping(method = {RequestMethod.GET},value = "/hello")
	public String HelloWorld() {
		return "안녕 세상아!!";
	}

}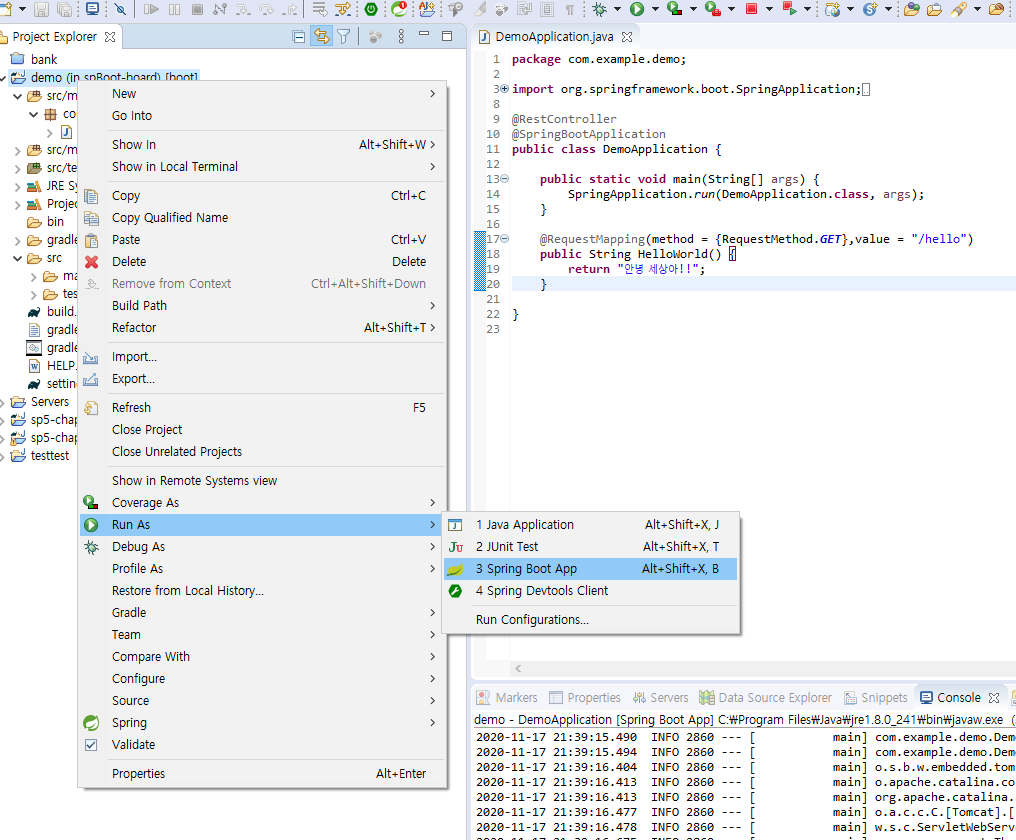
localhost:8080/hello로 들어가 본다.
@RequestMapper의 value를 "/hello"로 설정해서 뒤에 붙인 거고 설정 안해도 된다(안하면 빈 값으로 감)
'스프링' 카테고리의 다른 글
| 스프링 부트 따라하기-3(페이지 생성) (0) | 2020.11.24 |
|---|---|
| 스프링 부트 따라하기-2 (디비연결 및 세팅) (0) | 2020.11.19 |
| 스프링 컴포넌트 스캔 (0) | 2020.11.10 |
| 스프링 의존자동주입 (0) | 2020.11.10 |
| 스프링 DI-2 (0) | 2020.11.09 |